Valuable Tips for Cleaning Your Hearing Aids
Keeping your hearing aids in pristine condition is akin to ensuring the smooth performance of a high-precision instrument. These compact wonders require regular tune-ups to deliver the crystal-clear sound you rely on every day. This guide will walk you through straightforward, essential steps for cleaning your hearing aids. Master the art of hearing aid maintenance and ensure your device continues to enhance your life without interruption.
By incorporating these tips for cleaning your hearing aids into your routine, you’re not just caring for your device but investing in a seamless auditory experience. Let’s explore how a few minutes each day can safeguard your gateway to clear and uninterrupted conversations.
General Hearing Aid Care – What to Avoid
Understanding what not to do to your hearing aids is just as important as knowing the right steps for cleaning them. Here are some general care tips to keep in mind:
- Avoid Moisture and Direct Sunlight – Excessive moisture and heat can damage the electronics, so never leave your hearing aids in the bathroom or out in the sun.
- Keep Your Devices Away from Hair Products – Ingredients in hair products can be harmful to the hearing aid’s shell and components, so it’s best to remove devices before applying any products.
- Be Gentle with Delicate Parts – The microphones and receivers in your hearing aids can be damaged by rough handling, so handle your devices with care.
- Replace Filters Regularly – For behind-the-ear models, the wax filter needs regular replacement to maintain performance. Your audiologist or hearing aid manufacturer can advise on the recommended replacement schedule.
- Never Use Water, Cleaners, or Alcohol – Unless your hearing aids are water-resistant or specified for it, avoid using any water, cleaning solutions, or alcohol to clean them.
Gather the Essential Cleaning Supplies
Before you begin your regular cleaning routine, you’ll want to gather some handy tools and materials designed to clean and sanitize your hearing aids. Here are the essentials:
- Hearing Aid Cleaning Brush – This will help you dislodge any debris or earwax in your device’s openings without causing damage.
- Tube Cleaning Tool – Necessary for behind-the-ear models with tubing systems to keep the sound clear and unobstructed.
- Wax Pick or Wire Loop – For stubborn ear wax stuck in hard-to-reach areas.
- Earmold Tubing Blower – This will help keep the tubing free of moisture for behind-the-ear models.
- Microfiber Cloth – Ideal for cleaning the hearing aid shell and components gently.
- Hearing Aid Multi-Tool – These handy devices often combine several functions in one tool, perfect for on-the-go cleanings.
- Hearing Aid Dryer – A device designed to remove moisture from the hearing aids overnight, an excellent preventative care tool.
Cleaning In-the-Ear Hearing Aid Models
Maintaining your in-the-ear hearing aids requires a careful yet straightforward cleaning process to keep them functioning correctly. Follow this step-by-step method for the best results:
- Begin with Inspection – Check the wax filter and microphone ports as the first step. This is where earwax is most likely to accumulate.
- Wipe down the Exterior – Gently clean the entire surface with a dry, soft microfiber cloth to remove any debris or body oils.
- Remove Wax Buildup – Use a wax pick or wire loop carefully to extract any wax from the small openings. Be sure not to push the wax deeper into the hearing aid.
- Check the Wax Filter – If your model has a wax filter, inspect it for clogging. If it appears blocked, it’s time to replace it. Some models come with a tool that helps remove the old filter and install a new one easily.
- Regular Wax Filter Changes – It’s advisable to change your wax filters once a month or as instructed by the manufacturer. Frequent users or those with high wax production may need to replace filters more often.
- Brush Off Any Loose Debris – Sweep away any remaining small particles around the microphone and speaker areas with the hearing aid cleaning brush.
- Finish with a Dryer – If you have a hearing aid dryer or dehumidifier, use it overnight to remove any moisture that may have settled into your device during the day.
Cleaning Behind-the-Ear Hearing Aid Models
Maintaining Behind-the-Ear (BTE) hearing aids involves delicate care, especially when cleaning the domes and earmolds, which may accumulate earwax and moisture. To keep your BTE models in optimal condition, follow these meticulous steps:
- Inspect the Domes and Earmolds – Start by examining the domes and earmolds for any visible wax or debris.
- Wipe Gently – Using a microfiber cloth, delicately wipe the surface of the domes and earmolds.
- Detach and Clean Earmolds – If your hearing aids come with detachable earmolds, remove them to clean them separately. Clear any wax buildup using a wax pick or loop, ensuring you don’t push debris inside.
- Disinfect Earmolds – For a deeper clean, some earmolds can be washed with a mild soap solution, but only if they are non-electronic. Rinse them thoroughly and dry them completely before reattaching them.
- Clean the Tubing – If there’s tubing, use the tube cleaning tool to ensure it’s free from obstruction, and dry it using an earmold tubing blower.
- Brush Off Microphone and Receiver – Use the cleaning brush to remove any remaining particles gently.
- Examine and Clean the Hearing Aid Body – Inspect the body of the hearing aid, especially the microphone ports, and clean them with the brush.
- Replace Filters and Domes as Needed – Check if the wax filter or the domes need replacement and change them accordingly.
- Reattach Earmolds – Once the earmolds are fully dry, reattach them to the hearing aids.
- End with a Hearing Aid Dryer – Place your BTE hearing aids in a dryer or dehumidifier to remove any lingering moisture, safeguarding against internal damage.
Why Regular Cleaning and Maintenance Matter
Regular cleaning and maintenance are more than just hygiene routines – they’re the core components of hearing aid care. By proactively cleaning your devices, you can prevent wax accumulation, which can degrade sound quality and pose hygiene risks. Daily checks and cleanings will also enable you to notice if your device is malfunctioning and address any issues before they become major problems.
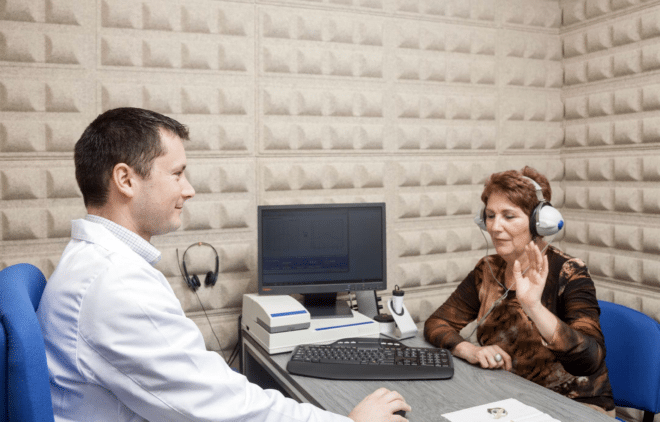
You should also visit your hearing healthcare provider at least twice a year for professional cleaning and a checkup. At Hearing Health Connection, we can ensure your devices are in top condition and make any adjustments necessary for optimal performance. If your hearing aids are due for professional cleaning, contact us or schedule an appointment online today.